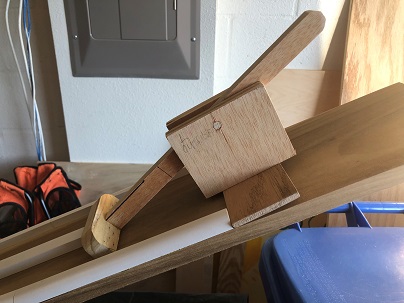
We needed a start mechanism to release the two cars simultaneously. I first built a very primitive kind of teeter-totter mechanism that had a crossbar across the front end to hold the cars back. That crossbar also weighted the front end down. To release the cars, you just pushed down on the back end of the level to raise the crossbar. We tried it a few times befofe I permanently attached it to the track, and it worked fine. But I realized that it would be bulky sitting up above the track like that, and that it would be likely to get damaged during storage.
So we went with Plan B: a simpler (and less bulky) mechanism. This consists of a crossbar running across the underside of the track beneath the Starting Line. It has two dowels that stick up through holes in the center of each lane. The dowels stop the cars from rolling down the track. The crossbar is held up against the bottom of the track by two springs mounted to the outside edge of the track. Tabs on the crossbar allow you to push it down, which lowers the vertical dowels in front of the cars, and releases the cars.
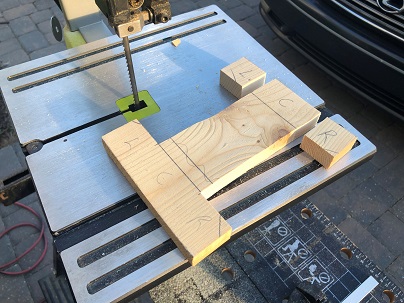
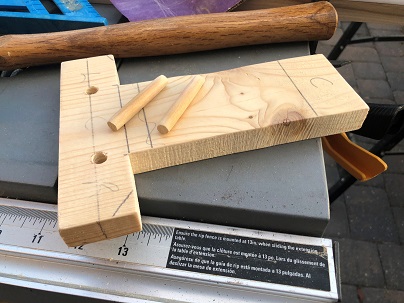
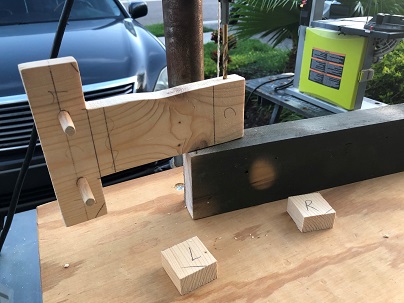
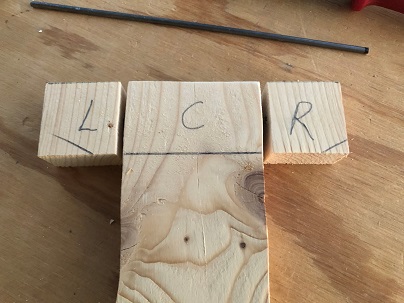
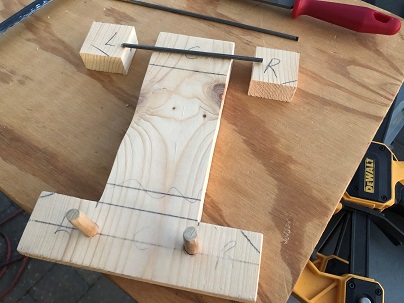
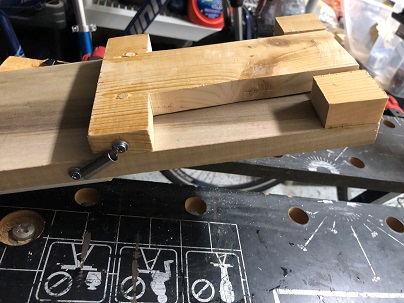
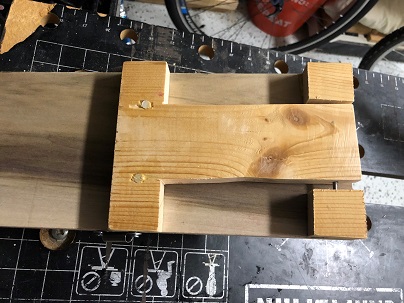
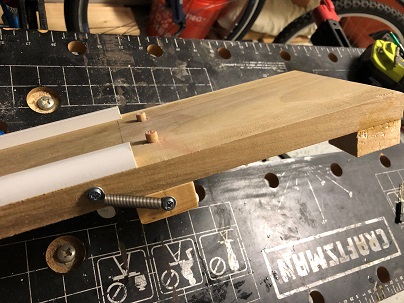
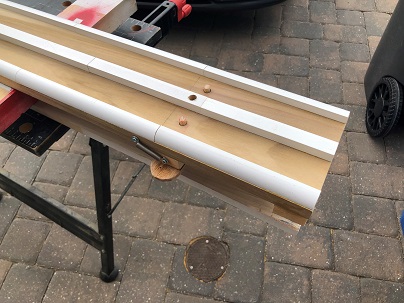
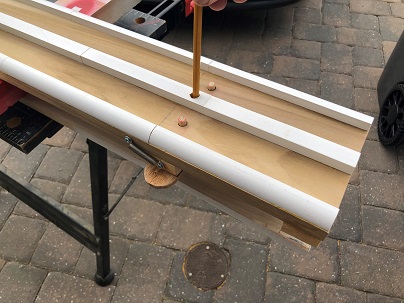
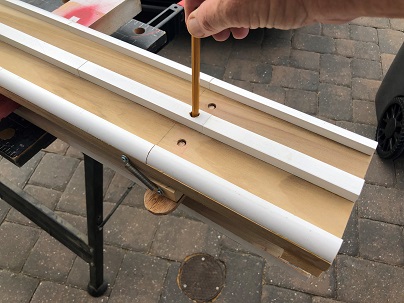
This worked pretty well too. But then we simplified it even more. I drilled a hole through the center divider right above the crossbar. Now, instead of using the tabs on each side to release the cars (which takes two hands to use them both and ensure the cars start simultaneously), you can just stick a small dowel (or pencil) through the center hole and push the crossbar down and the dowles drop down easily.
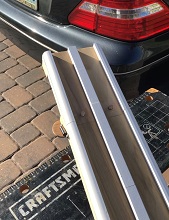
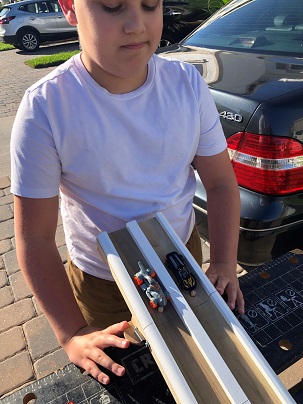
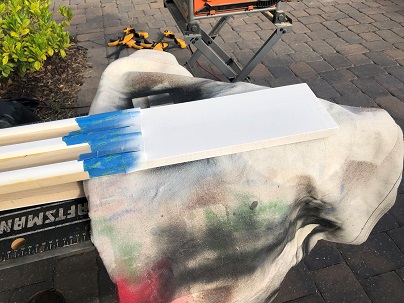
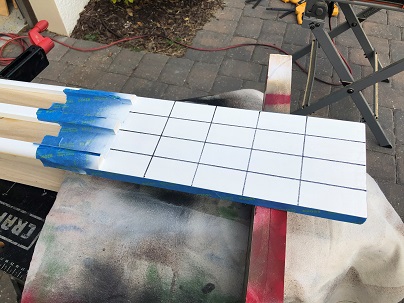
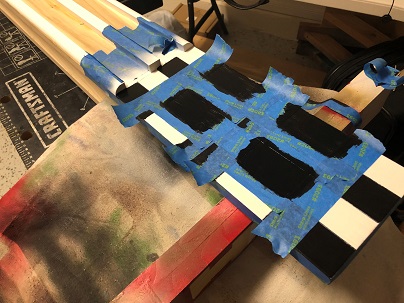
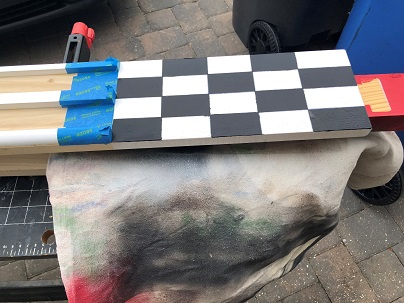
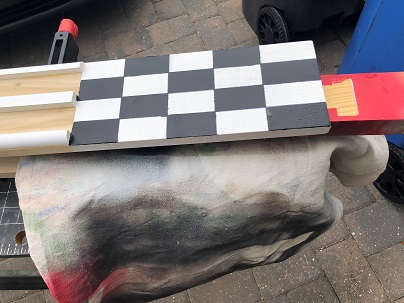
I had left about a foot of track at the bottom with no center divider or guard rails in case I wanted to add some sort of system which would signal toward the lane in which the winning car crossed the finish line first. But I ended up not making that device (not yet, anyway) so I just painted the final foot of track with a checkerboard finish line pattern.
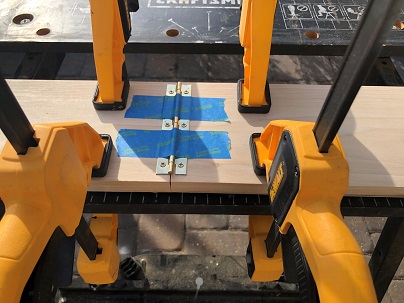
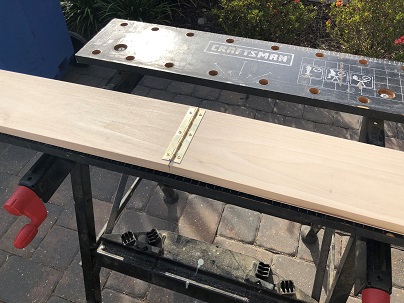
The final part of this project was to cut the track in half and hinge it so that we could fold it up and store it. Again, the track is 10' long and very cumbersome to move around inside the house (or even in the garage). I cut it in half on the table saw and hinged it on the underside with six inches of piano hinge.
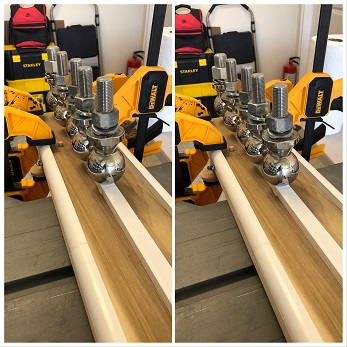
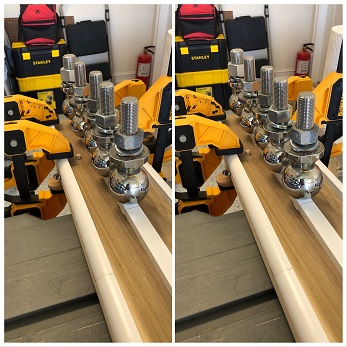
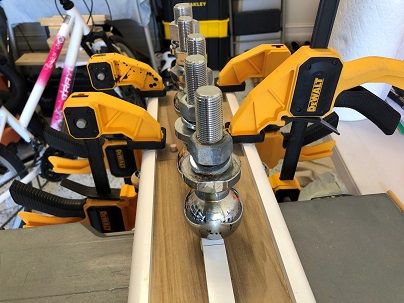
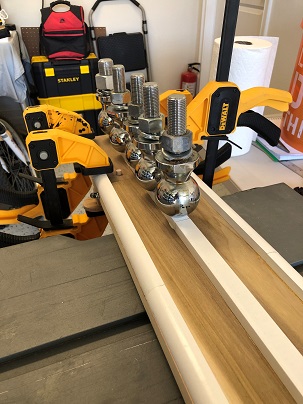
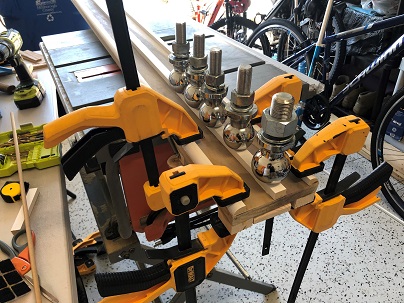
For fun, I took a couple of pairs of 3D photos (below) of the edging being glued in place using clamos and trailer hitches. Without the appropriate tool to separate the left and right photo so they can each be seen by only one eye (like through a 3D Viewmaster), you'll have to use the cross-eyes method to view them. First, enlarge the photo. Next, focus in the center of the image bewteen the two photos. Then let your eyes cross until a thirs image appears between the original two. Finally, focus on that third, center image to view the 3D photo. It may take you some time at first, and a few tries if you've never done this before. But, once you get it, it's an incredible effect. Good luck and enjoy!
